Use Cases for Cisco Secure Firewall
Uploading Troubleshooting Data to a Case
Overview
The extension integrates directly with the Firewall Management Center (FMC) to facilitate the uploading of diagnostic data directly to your TAC Cisco Support Case.
Step 1: Install the Chrome Extension
- Download and Install: Download the Cisco In Product Support Chrome extension from the Chrome Web Store and click "Add to Chrome" to install it, ensuring the browser extension is available for immediate use.
- Enable Extension: Once the extension is installed, ensure it is enabled by checking the extensions menu in Chrome and confirming that the Cisco In Product Support is active.
Step 2: Activate the Extension
- Navigate to Cisco Secure Firewall: Open Chrome and navigate to a supported Cisco product such as Cisco Secure Firewall to initiate the activation process.
- Pop-Up Activation: Upon visiting the supported product page, you will see a pop-up that says, "Unleash the power of TAC virtual assistants and activate Cisco In Product Support extension."
- Click to Activate: Click on the pop-up notification to trigger the authentication workflow.
- Authenticate: Complete the authentication process by entering your credentials and verifying your identity.
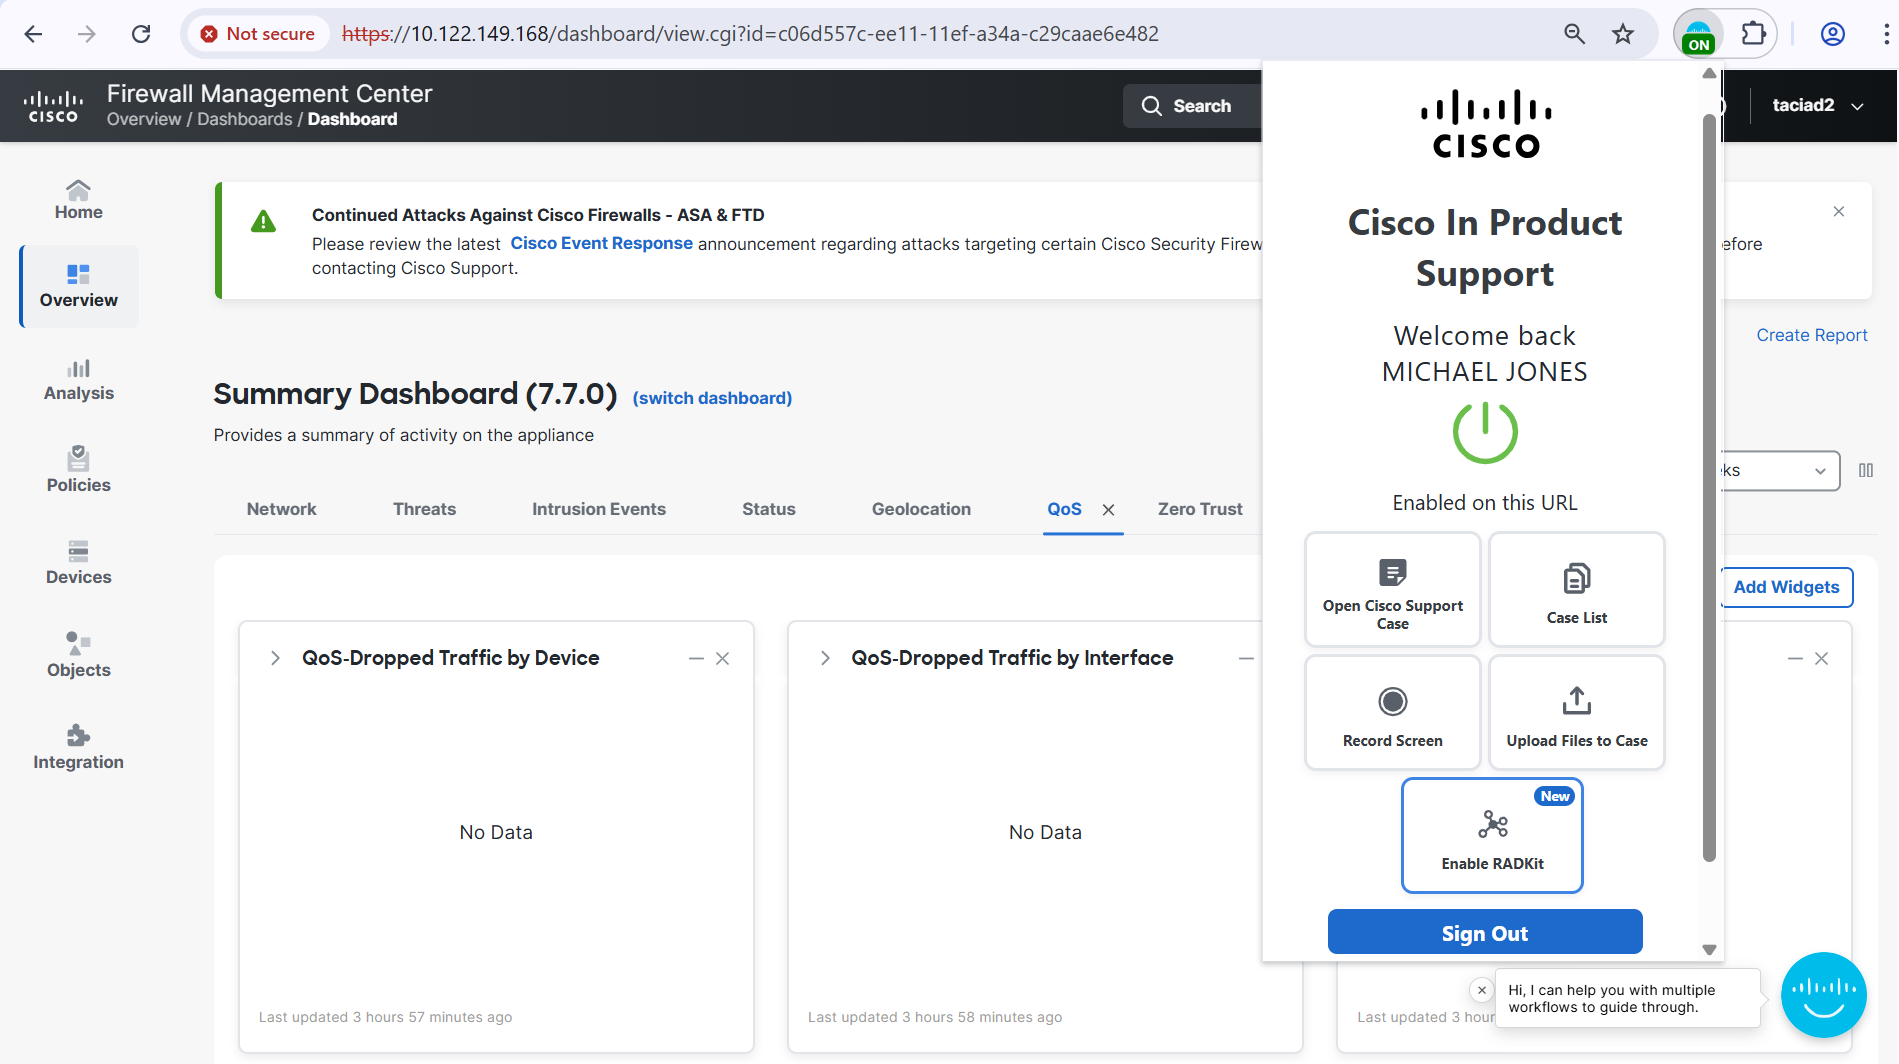
- Confirmation: Once authenticated, you will see that the extension is marked as "On," and your name will appear when you click on the extension icon in the Chrome toolbar.
Step 3: Using the Extension Features
A. Opening a Cisco Support Case
- Open Extension: Click on the Cisco In Product Support extension icon located in the Chrome toolbar to open the extension interface.
- Select 'Open Support Case': In the extension interface, choose the option to open a new support case, which will guide you through the necessary steps.

- Record Issue: Optionally, use the screen recording feature to capture and explain your issue visually and verbally, which can be extremely helpful for the support team (detailed instructions in Section B).
- Submit Case: Fill in the required details, such as the issue description and relevant information, and submit your support case through the extension interface.
B. Case Listing
Viewing Created Cases
- View Case List: To see the details and status of your created cases, click 'Case List' in the In-product Support extension.

- Cases Created: Once loaded, you'll see a list of your cases, including the Support Request number, Case title, Severity, last updated date, created date, and the current status.

- Expand for More Details: Expand any case row to view additional information, such as the case owner and manager details. You'll also have the option to view your case in SCM.

Search and Filter
- Search: Use the search field to find a specific case by entering the complete Cisco Support Case number. Partial entries will only match items that are currently visible.

- Filter: Filter cases by their status such as Open, Draft, or Closed, to quickly sort and view only the cases relevant to your needs. Only cases matching the selected status will be shown.

More Actions
- Refresh List: Click the refresh button to update the case list and display the most recent changes or updates.
- Sort Cases: Organize your cases by sorting the table rows based on different columns, such as date created, severity, or status.
- Navigate Pages: Easily browse through multiple pages of cases using the pagination controls at the bottom of the list.
C. Recording Your Screen
- Start Recording: Click on the extension icon in the Chrome toolbar and select the "Record Screen" option to initiate the screen recording process.

- Choose Recording Area: You will be prompted to select whether you want to record a specific Chrome tab, the entire browser window, or your entire desktop screen.

- Microphone Permission: Optionally, allow the extension to access your microphone to provide an audio explanation of your issue, enhancing the clarity of your recording.

- Begin Recording: Follow the on-screen instructions to start the screen recording, capturing all relevant actions and information.

- Add Screenshots: During the recording, you can double-click any screen to add a screenshot, which will be included in the support case along with the video recording.
- Stop Recording: To stop the recording, click the "Stop" option in the floating bar at the bottom of the screen or click on the extension icon and select the stop recording button.
- Upload Recording: Once the recording is stopped, you will have the option to upload the video to an existing case by entering the nine-digit Cisco Support Case number or open a new case.

D. Upload Local File to Case
- Upload File: Click ‘Upload Files to Case’ in the extension interface.

- Choose File: In the modal that pops up, click 'Choose file’ and browse through your local files to upload the preferred file.
- Select Case: Enter an existing Cisco Support Case number or open a new case to upload your file to.

- Allowed File Types: Allowed file extensions include jpg, png, mp4, and zip files. If .pkg or .exe files are uploaded, the pop-up will prompt an error message.
- Case Number Search: Conveniently, you can also enter a case number to search from a list of existing cases.
- Upload Confirmation: After clicking ‘Upload,’ allow a moment for your file to be added to the case. You will receive a confirmation prompt once your file has been successfully uploaded. Additionally, you have the option to cancel the upload while it is in progress.
E. RADKit Association on Catalyst Center
- Enable RADKit SN: The 'Create RADKit SN' button allows the user to enable RADKit Serial Number on products like FMC (Firepower Management Center) and DNAC (Catalyst Center). It sends automatic notifications (via email, Webex, and case notes update) to the TAC Engineer about the availability of the RADKit Serial Number for a specified Cisco Support Case for a predefined duration.

- Create RADKit SN: Click the 'Enable RADKit SN' button on the one-time pop-up displayed on the appropriate product screen. A modal will be prompted. Select the Cisco Support Case number to enable RADKit on, and click on the 'Create RADKit SN' button.

Step 4: Uploading Troubleshooting Data to a Case
-
Notification Panel: After generating a troubleshoot in the FMC, a notification will appear next to the "Click to retrieve generated files" option.

-
Upload to Cisco Support Case: Clicking on the "Upload to Cisco Support Case" option will prompt you with an input box to indicate the Cisco Support Case number where the file should be uploaded.
- File Upload: Select upload, and the file will be prepared and automatically uploaded to the specified Cisco Support Case.

Critical Vulnerability Remediation Workflows
- Notification and Guidance: When critical vulnerabilities that could significantly impact the industry are detected, the Cisco In Product Support will notify you and provide instructions on how to use your Cisco Secure Firewall to protect your network.
- Video Demonstration: Play critical vulnerability remediation video - coming soon!
Smart Tooltips
- Contextual Assistance: Smart tooltips dynamically attach to elements of the FMC to provide helpful hints, links to YouTube videos, or information about programs like the Cisco Secure Firewall Upgrade assistance program LevelUp.
-
Example: In the FMC upgrade page, tooltips may highlight free upgrade assistance programs to help you effectively manage firewall upgrades.
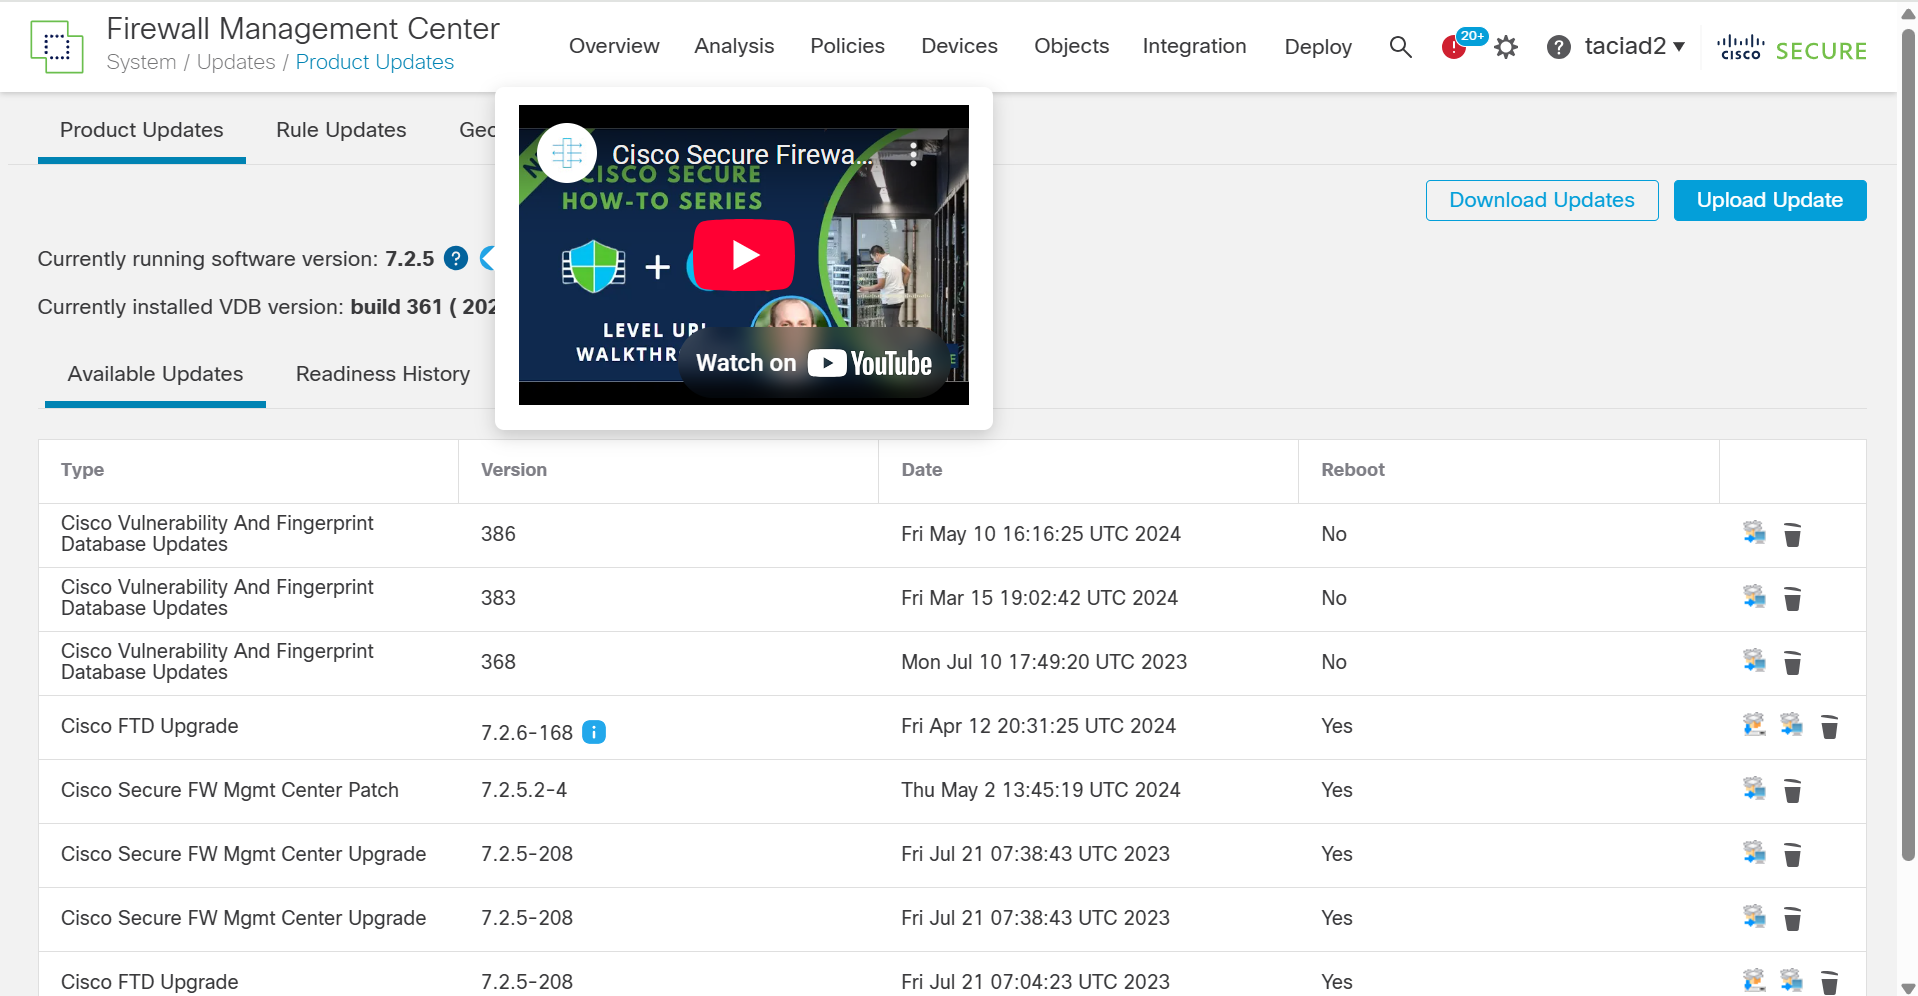
-
In-Context Warnings
- Proactive Problem Avoidance: Using its advanced product detection and metadata extraction framework, the Cisco In Product Support may provide warnings about potential issues you may encounter within the FMC WebUI.
-
Example: The extension may warn you about being unable to save an Access Control Policy due to a known defect, thus preventing potential loss of work.
-
Summary
The Cisco In Product Support for Cisco Secure Firewall provides a comprehensive suite of tools designed to streamline troubleshooting, enhance security, and improve overall management of the firewall system. By integrating directly with the FMC, the extension not only simplifies workflows but also ensures that you are well-informed and prepared to handle potential vulnerabilities and operational challenges efficiently.